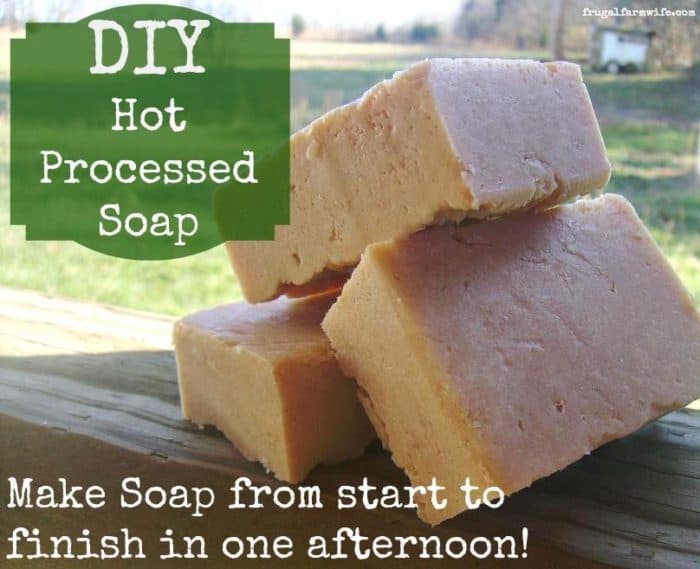
If you’re looking for some easy, homemade holiday gifts, this is perfect! Who doesn’t love a bar of hand crafted soap?
The usual cold process soap making method takes up to three weeks to cure, and while I honestly prefer that method, we don’t have that much time left before Christmas.
With the hot process method, you can make a lot of stocking stuffers, hostess gifts, and party favors in just a couple of hours. Incidentally, it’s also a great base for making homemade liquid soap.
FYI: the soap in these pictures are special order plain, nothing added, goat milk soap .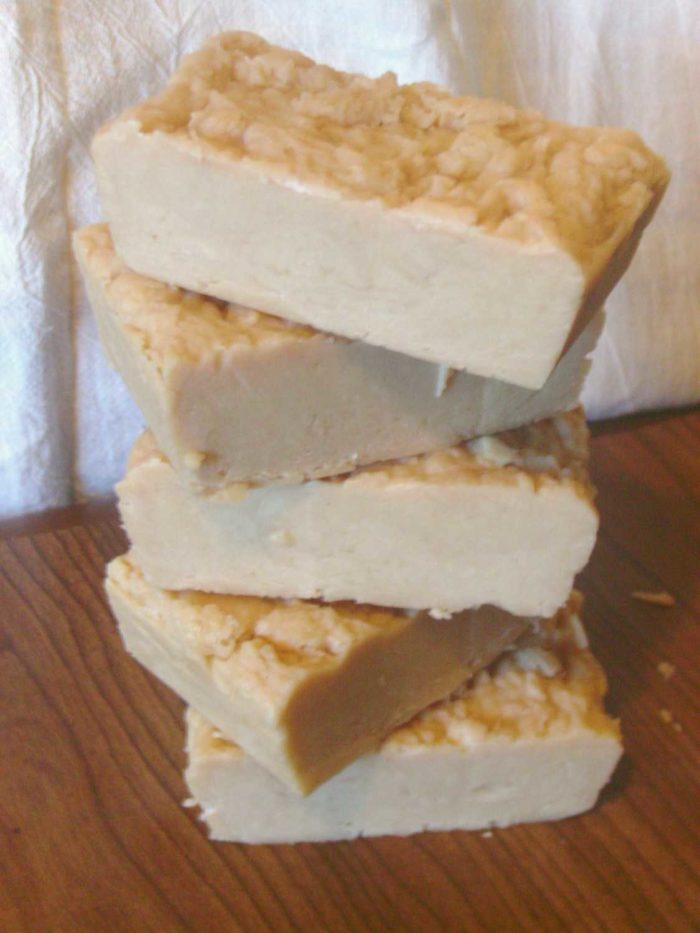
What you’ll need:
- Lye
- Water or milk
- Oils
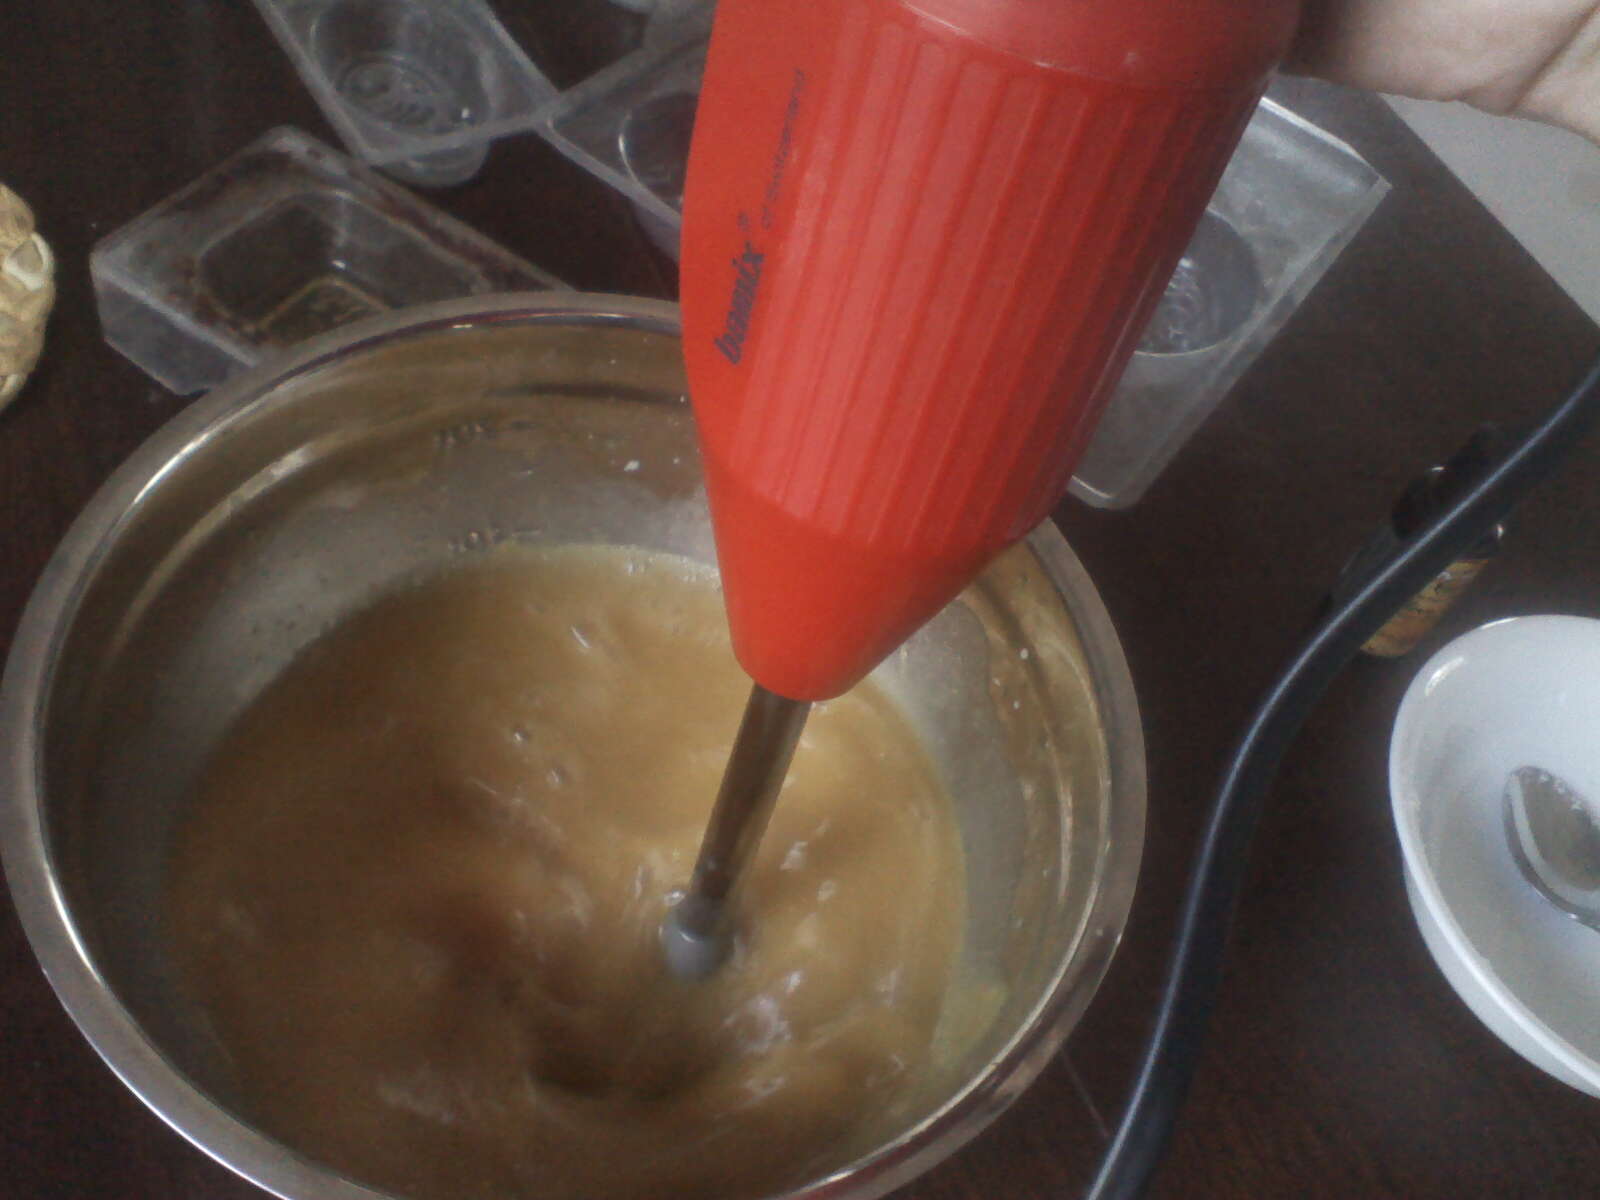
- Stick blender (or non-reactive spoon)
- Crockpot
- Essential oils, colorants, botanical, ad infinitum.
- Soap molds.
A basic soap recipe includes 6 ounces of water or nearly frozen milk, 2 ounces of sodium hydroxide beads (lye), and 1 pound of oil. I use a combination of coconut, olive, and soy oils.
This is a really small batch, and you can double, or even triple it to get more bang for your buck (or time in this case).
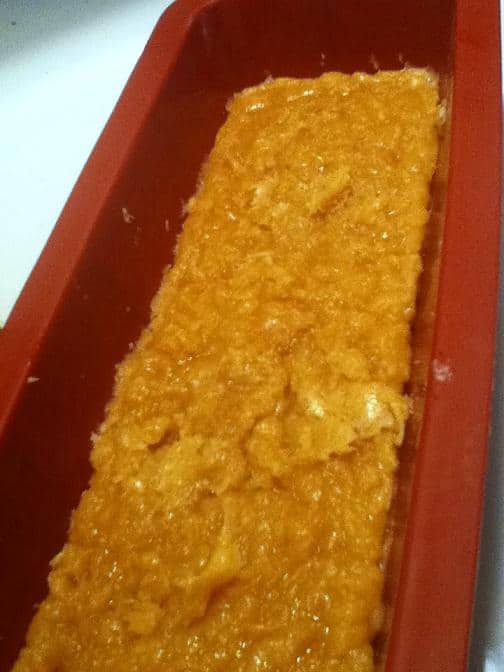
You can use whatever you want for soap molds. Since the soap is hot-cured before being poured into the molds, it is no longer reactive, so you don’t have to be careful to use a non-reactive soap mold. I often use a bread pan, but I’ve had a thing for round bars lately, so I’m going to ask my brother to save his next few Pringles cans for me.
The method:
The actual making of hot processed soap is easy. The only “iffy” part is knowing when it’s done. I thought I’d get off easy by using ph testing paper to check it, but the particular paper we have doesn’t run high enough.
A common way to check is the “tongue test”, where you touch a small bit of soap to you tongue. If it zaps, like an electrical shock, it’s not done. Sound fun to you? Me either. I elected to cook it until it looked done – about an hour and a half.
So here you go:
DIY Hot Process Soap In The Crockpot
- Place water or icy-slushy milk into crockpot or non-reactive bowl. Stir in lye beads.
- When the lye is dissolved, stir in oil. One of the great things about this method, is that you don’t have to worry about the temperatures of your ingredients. Still, if you use a solid oil (shortening or coconut), you’ll want to melt if first.
- Using a stick blender, blend the mixture until it reaches a trace, which basically means, until it looks like a thinnish pudding. This should take 5-10 minutes. If you stir with a spoon, it could take a hour.

- Turn crockpot on low, if the mixture is t already in the crockpot, pour it in.
- Stir it every once in a while. I know, real scientific, right?
- The mixture will eventually start to set up and get a little waxy looking. You’ll probably want to stir a little more often when that happens.
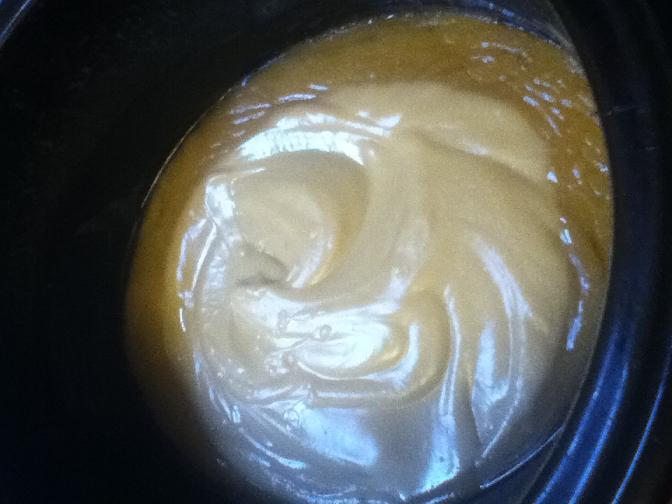
When the Ph reaches 10 or lower, the soap no longer zaps, or you otherwise judge that it’s done, it’s time for additives!
Add your scents, colorants, and botanicals of choice, and pour into molds. Do it quickly, or it might set up in you!
Give the soap a couple hours to cool and set before you cut into bars and package. I recommend letting them air dry for a day or two before you package them as well.
Done!